Deployment (for Mac & Linux)
Heroku
Create a new IAM User for aws
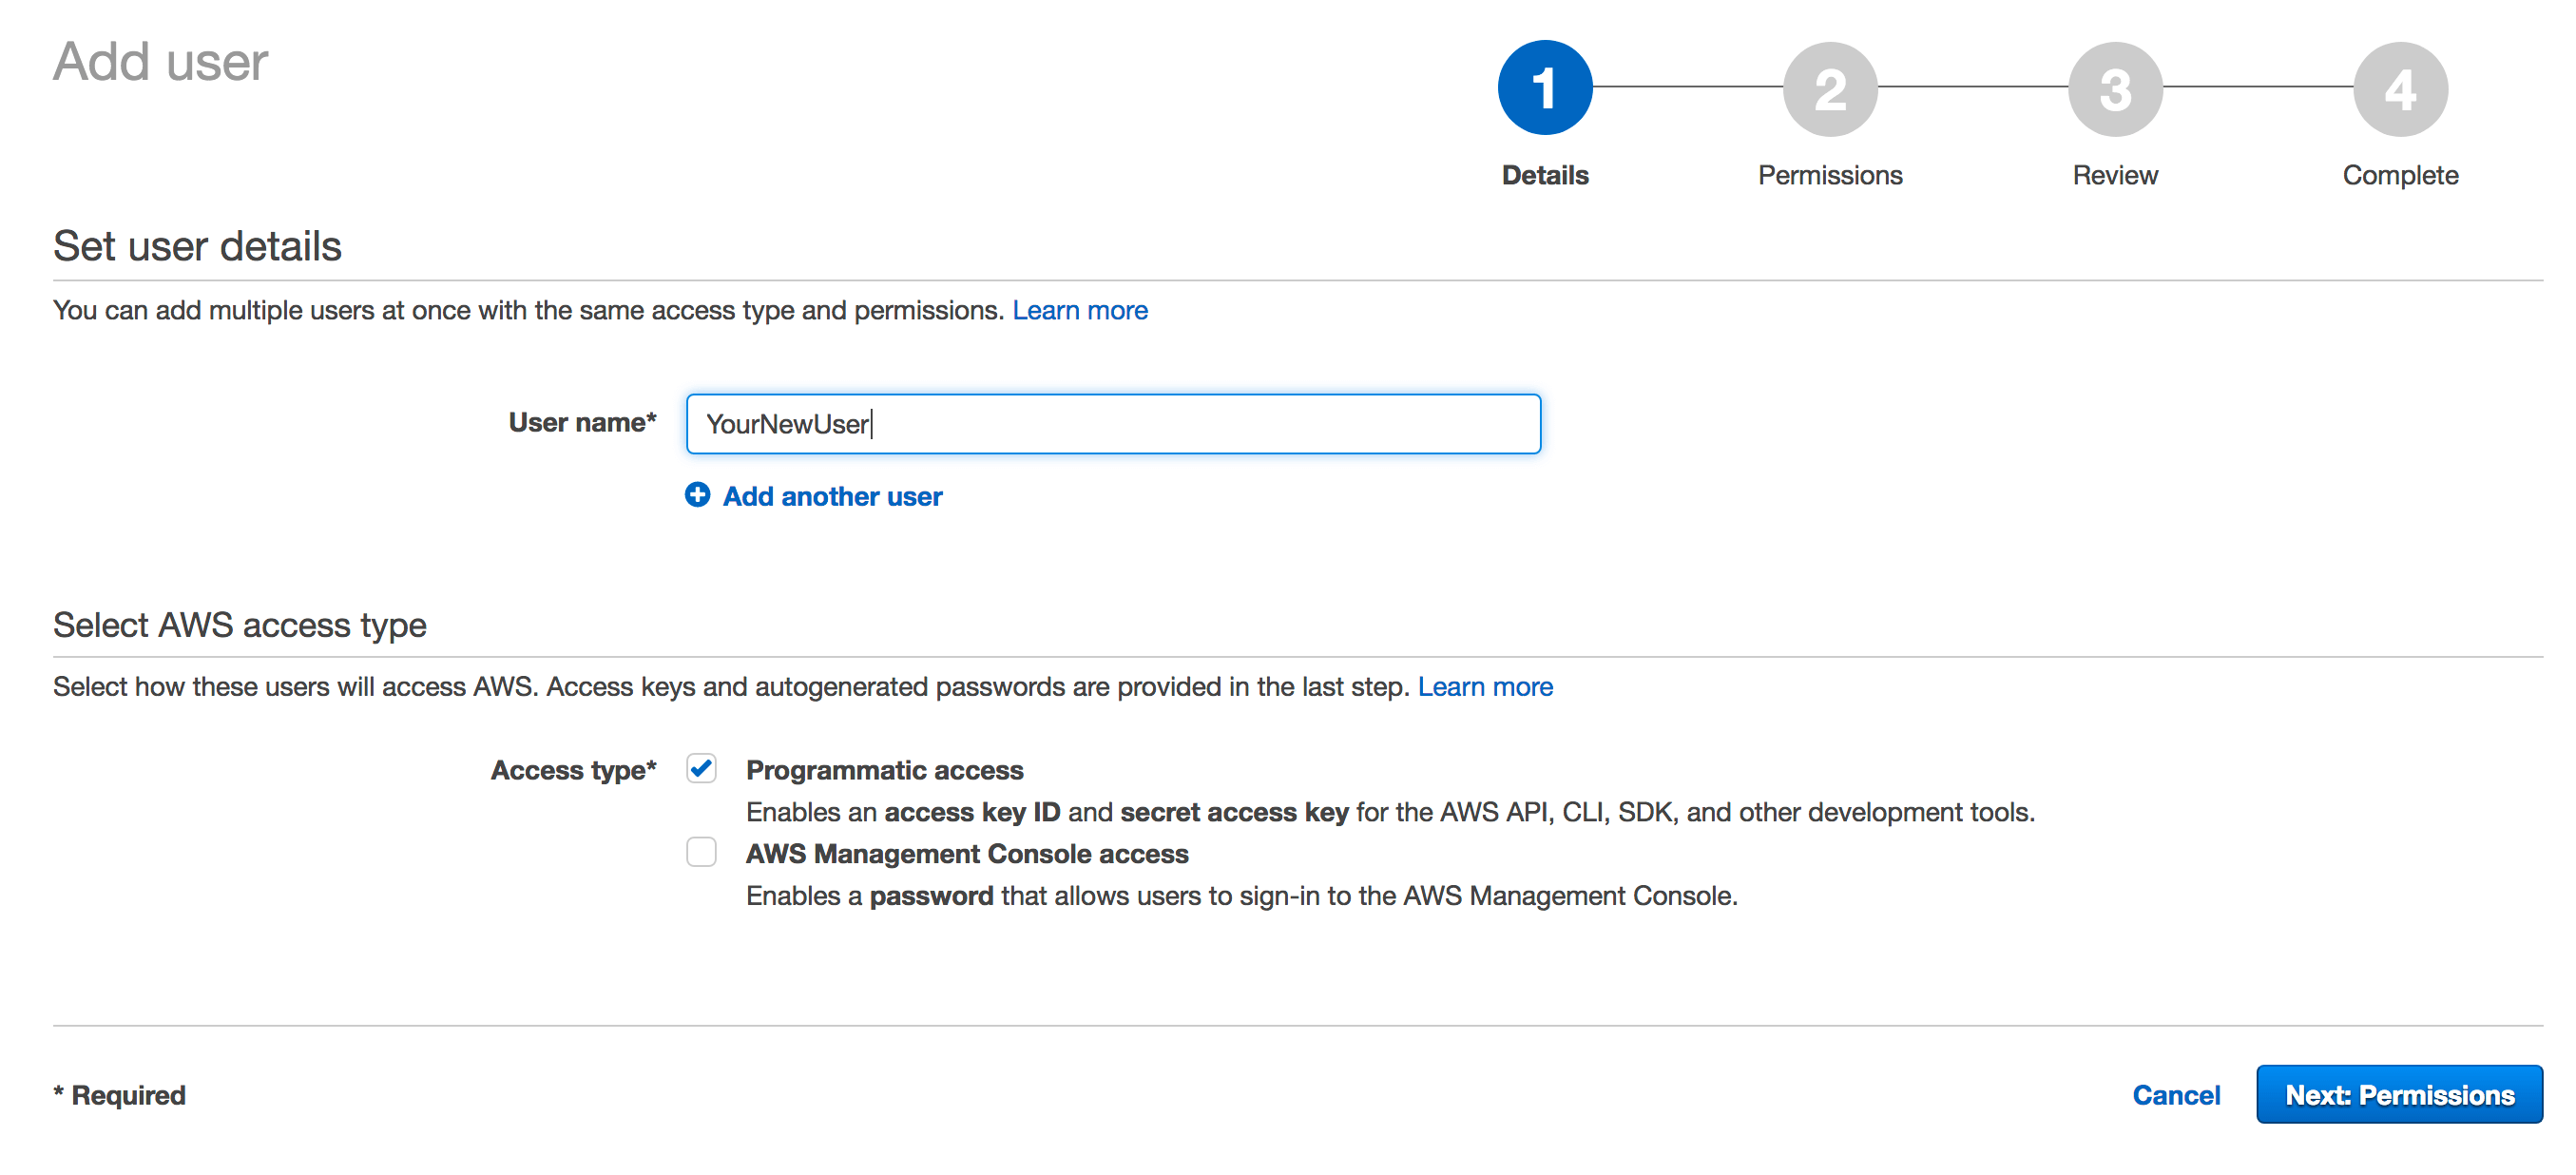
Go on create new IAM user to create a new IAM User for your S3 Bucket.
At first enter a User name` and activate Programmatic access and than on Next: Permission button.
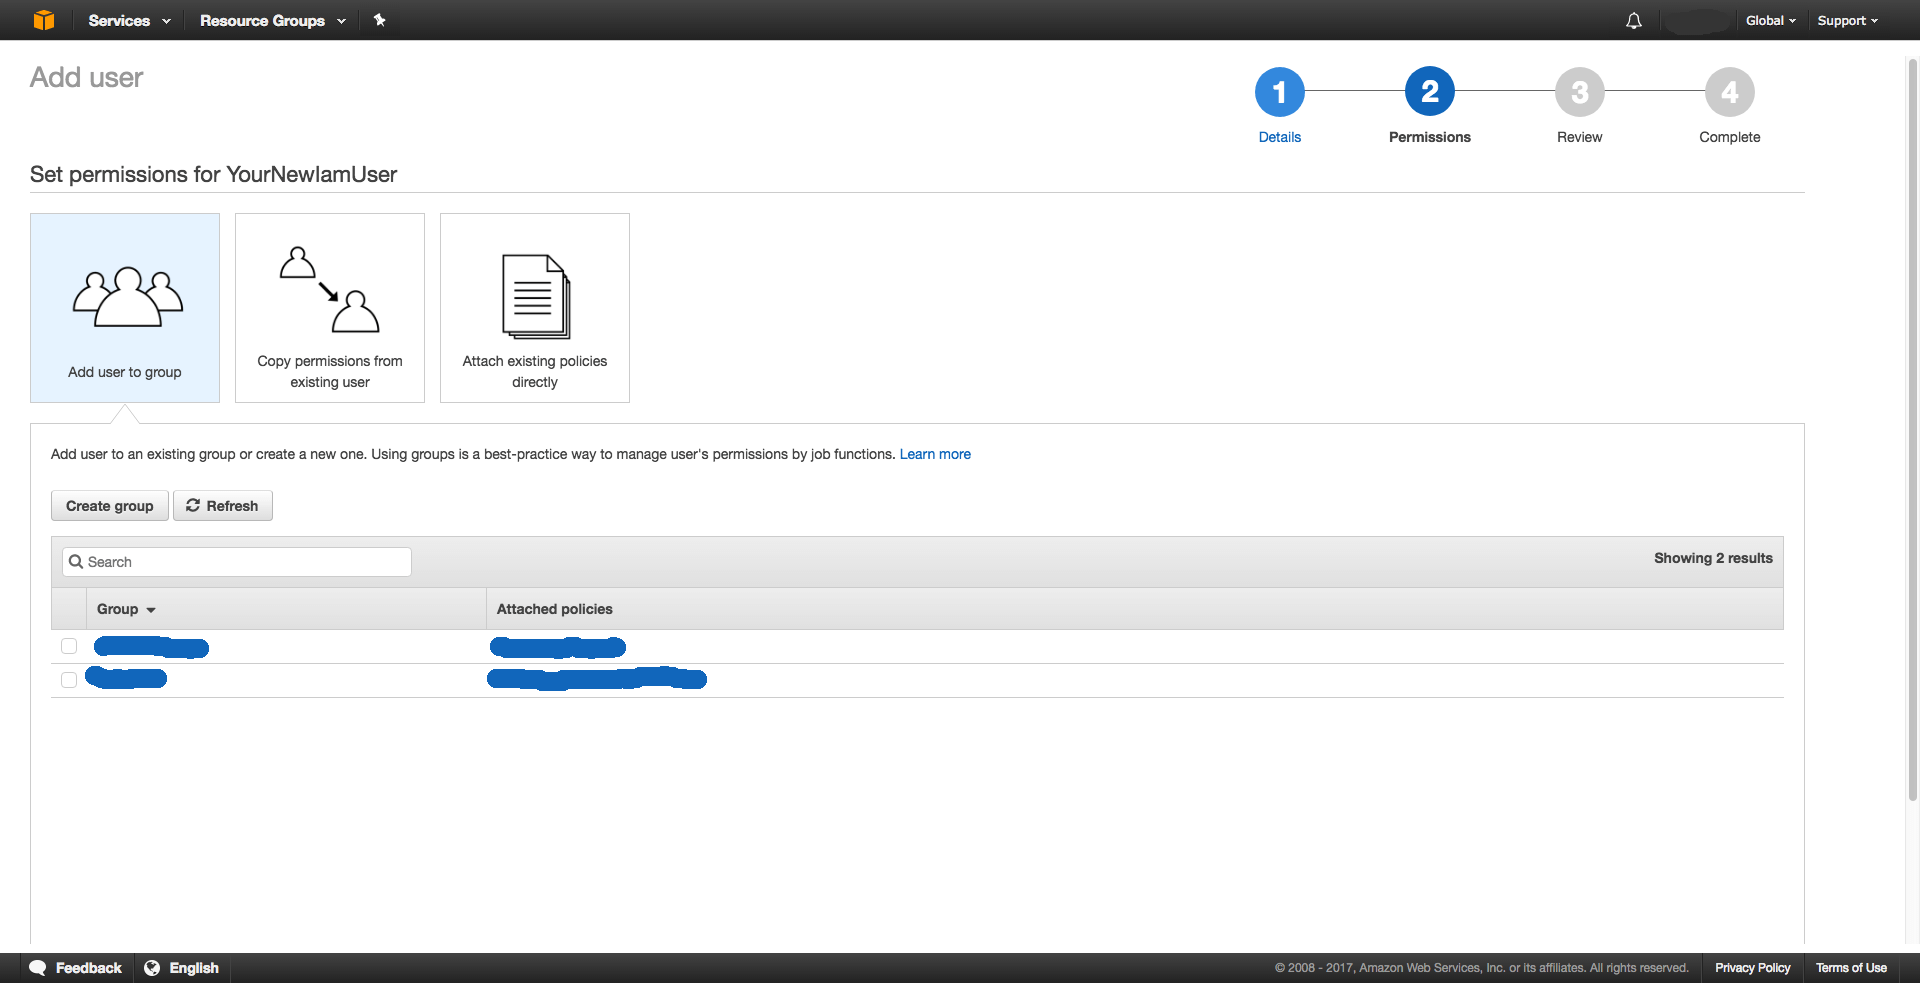
On the next page Set permissions for YourNewIamUser just click on Next: Review without to add any group or policies.
On Review ignore the warning This user has no permissions and click on Create User.

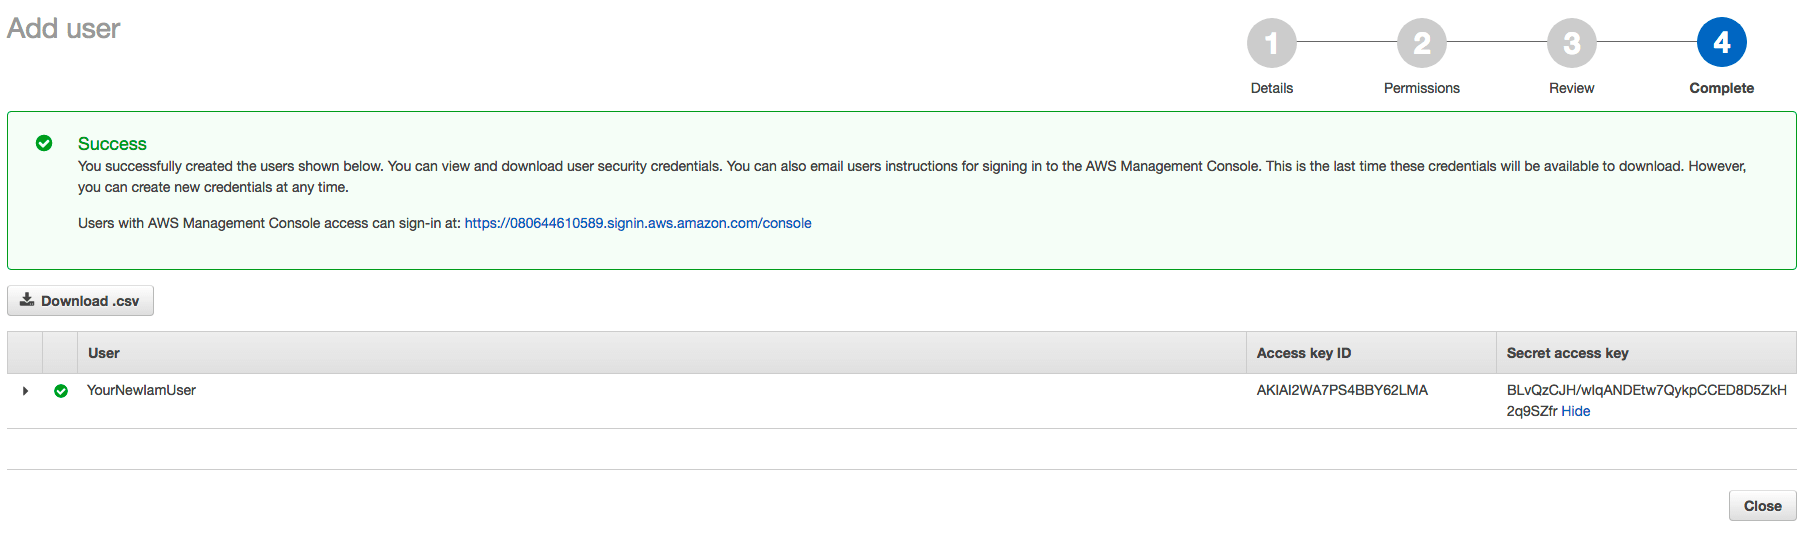
On the last page write down your new Access key ID & Secret access key to use it later on the deployment. And in
the end click on Close
Now get the User ARN, for that click on your new created user.
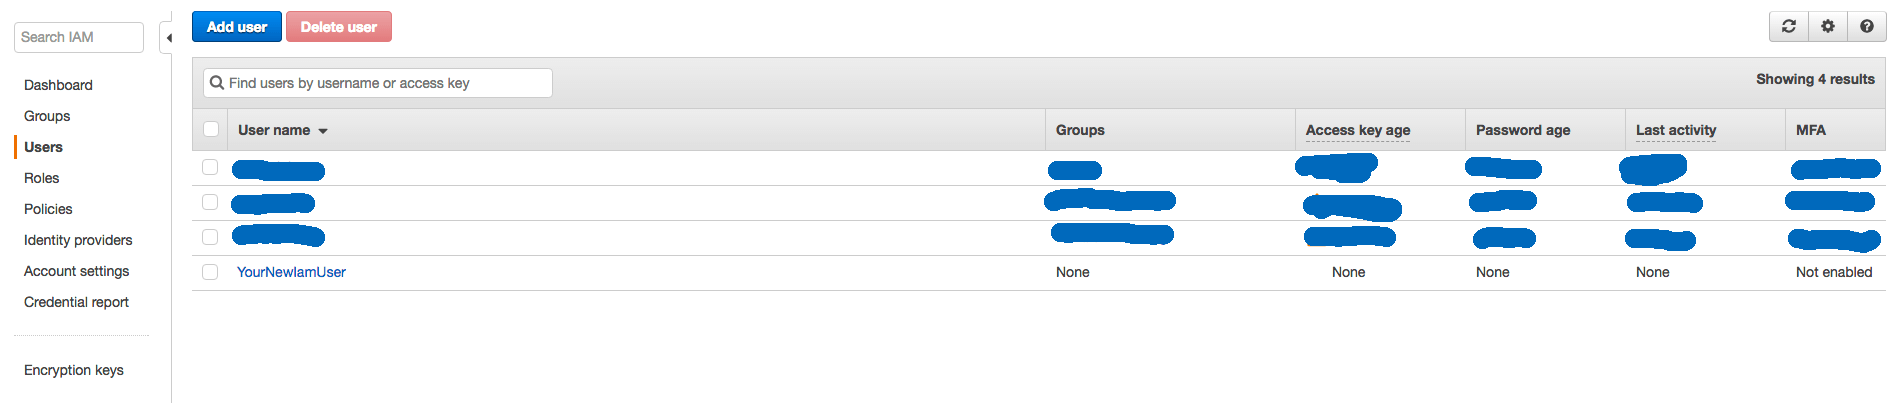
In the Summary page you will see the user ARN, also write it down for using to setup your S3 Bucket.

Setup a S3 Bucket
To create a S3 Bucket for the media & static files go on create new S3 Bucket and click on + Create bucket.

In the following wizard enter your Bucket name and select your Region than click on Next.

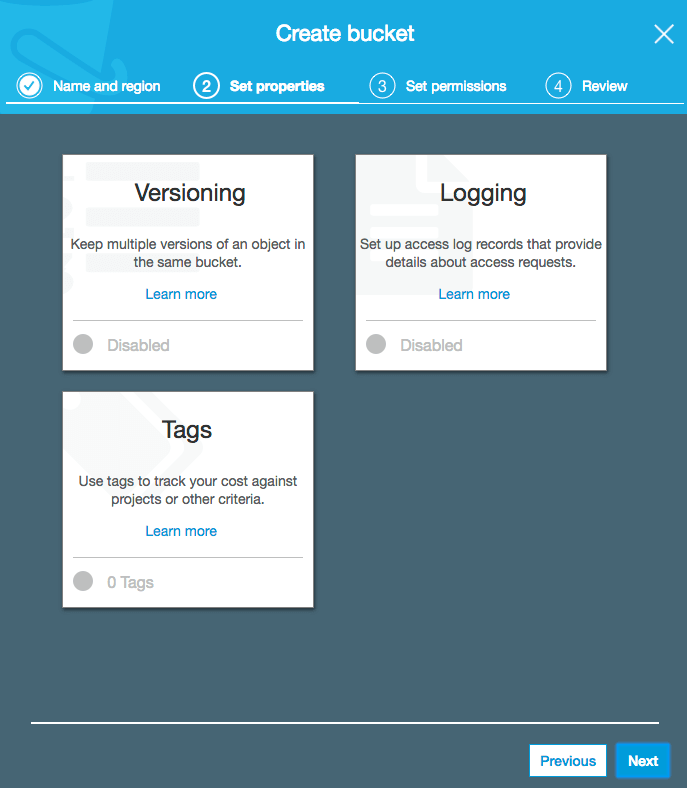
On the next page ‘Set properties’ just click on Next.
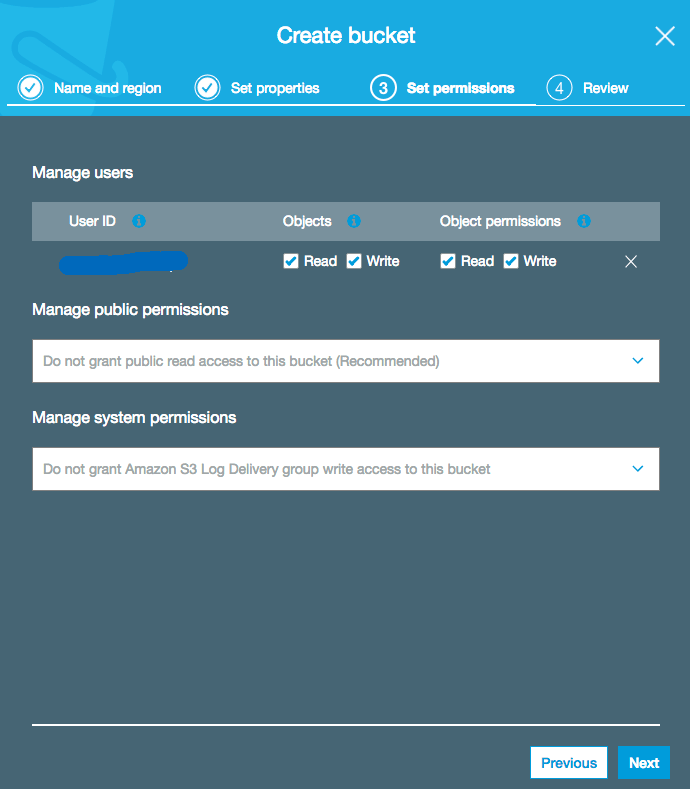
And again on ‘Set permission’ just click on Next.
For the last time ‘Review’ just click on Create Bucket.

So after the Bucket is created click on your new Bucket in the list and on the right side click on Permissions.
At next click on Bucket Policy and write down the following policy.
Importent change BUCKET-NAME with your Bucket name and USER-ARN with your just befor created user.
{
    "Version": "2008-10-17",
    "Statement": [
        {
            "Sid": "PublicReadForGetBucketObjects",
            "Effect": "Allow",
            "Principal": {
                "AWS": "*"
            },
            "Action": "s3:GetObject",
            "Resource": "arn:aws:s3:::BUCKET-NAME/*"
        },
        {
            "Effect": "Allow",
            "Principal": {
                "AWS": "USER-ARN"
            },
            "Action": "s3:*",
            "Resource": [
                "arn:aws:s3:::BUCKET-NAME",
                "arn:aws:s3:::BUCKET-NAME/*"
            ]
        }
    ]
}
Cors Setup
<CORSConfiguration>
  <CORSRule>
      <AllowedOrigin>*</AllowedOrigin>
      <AllowedMethod>GET</AllowedMethod>
      <MaxAgeSeconds>3000</MaxAgeSeconds>
      <AllowedHeader>Authorization</AllowedHeader>
  </CORSRule>
</CORSConfiguration>
Policy & Cors by Wagtail.io: Wagtail.io Blog - Amazon S3
Heroku Deployment
Official Tutorial from Heroku: https://devcenter.heroku.com/articles/deploying-python
Create a Heroku App
$ heroku login
Enter your Heroku credentials.
...
$ heroku create --region eu
Creating intense-falls-9163... done, stack is cedar
http://intense-falls-9163.herokuapp.com/ | git@heroku.com:intense-falls-9163.git
Git remote heroku added
$ git push heroku master
...
-----> Python app detected
...
-----> Launching... done, v7
       https://intense-falls-9163.herokuapp.com/ deployed to Heroku
Setup Enviroment
Run the setup_heroku.sh bash script to setup the environment for the heroku instance.
$ ./setup_heroku.sh
Fill the Database & Upload the Static files
$ heroku run python manage.py collectstatic --noinput
$ heroku run python manage.py createsuperuser
$ heroku run python manage.py oscar_populate_countries
Setup a Domain
Show if anything work’s fine
$ heroku info
Continuous Deployment
To enable Continuous Deployment on Bitbucket.com enable Piples in your Bitbucket project & set the enviarables
`HEROKU_APP_NAME` & `HEROKU_API_KEY`
More details: https://bitbucket.org/spittet/heroku-deploy
Push Updates (CLI)
This is only if you want to push updates via the CLI
$ git add -A
$ git commit -m "your update"
$ git commit -m "your update"
$ heroku run python manage.py collectstatic --noinput
$ heroku run python manage.py migrate
$ heroku run python manage.py createsuperuser